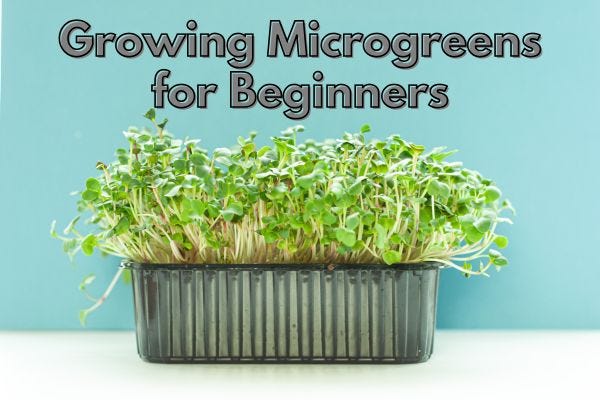
Growing Microgreens for Beginners: The Simple Trick to Fresh Greens All Year Long
No garden? No Problem: How to Grow Fresh Microgreens Right on Your Windowsill
Let’s start this by defining what exactly a microgreen is, as different folks have different ideas of what they are.
Microgreens are young, edible seedlings of vegetables and herbs, harvested just after the first leaves (cotyledons) have grown, as well as one or two sets of true leaves. These are not the same as sprouts or baby greens, though they are often confused with them.
Microgreen Characteristics
Usually, microgreens are harvested roughly 7 to 21 days after they germinate and are 1 to 3 inches tall. The flavors they provide are often more intense than the mature plants. In fact, when I’ve used broccoli greens, I’ve found them to have almost a hot vibe to them.
They are very popular due to the nutrient-dense properties they possess, with high concentrations of minerals, vitamins, and antioxidants. Plus, they are super easy and cheap to grow.
Common microgreens grown are broccoli, radish, kale, alfalfa, beans, arugula, mustard, pea shoots, basil, sunflower, and many others. Usually, they are grown in soil or a soil substitute medium of some type, while others grow in a soilless environment.
Why all the hype with microgreens?
Many consider microgreens a superfood, so they are highly sought after by people who prioritize healthy nutrition. One of my favorite ways of using microgreens is by putting them in smoothies. They offer a power boost of amazing nutrients.
They are also excellent in salads, sandwiches, and other favorite meals. Any place you use lettuce could be either a replacement or an addition to it. It’s incredible to have fresh greens ready for you anytime you need them. Just cut a few right from your kitchen, and you’re ready to go.
Chefs often garnish various dishes with microgreens due to the vibrant colors and flavors they provide.
They are easily grown indoors, often by people who either don’t have garden spaces or are too busy for gardening. They take little space, water, and other resources to grow and offer a quick harvest.
Others grow them to sell at local farmer’s markets or to individuals they personally know.
Why microgreens are like printing free money on your windowsill
Let’s talk numbers because that’s an important factor. People can easily spend $4–$5 or more on a small box of greens at the store. Sometimes the greens go bad before they are used, creating wasted money on that food.
Paying for seeds is much more cost-effective, hands down. You will need some initial supplies to start, but you will quickly recoup those costs with savings you would have otherwise spent at the grocery store.
How to start growing microgreens (even if you think you can’t grow plants)
First off, consider the space you have to dedicate to this. Is it one windowsill? A small counter space or a larger area? Will you be growing for one person or a large family? Expect there to be some trial and error until you get it perfectly dialed in to your situation.
Some people opt for a whole beginner type set up like this Self Watering Microgreens Growing Kit. Others get a window box planter, a gardening flat container, or other planters. I was growing for only myself, so I used a couple of mason jars.
Get the right seeds (don’t cheap out here)
When first starting to grow microgreens, I highly recommend getting a variety pack of seeds (like this for example) in order to try various kinds, until you find what your favorites are to use and grow.
I do recommend going for organic, non-GMO varieties if you can. Buy from reputable sources, as many seed scams are happening these days.
Preparing to sow your microgreen seeds
If you use a growing kit, follow the manufacturer's directions on its use. Otherwise, take your container (preferably with drainage holes), use organic potting soil, and then fill it with about an inch or more of the growing medium. Don’t overthink this.
Set the container (if it has drain holes) in water to allow it to draw the water up and moisten the soil. Otherwise, gently water from the top. You don’t want the soil soggy but evenly moist.
Gently sprinkle your seeds to cover the soil, close together but not piled on top of each other. You don’t need to do this one seed at a time. If the seeds are very tiny, gently press them into the soil. If they are a bit bigger, lightly cover them with soil. Use a spray bottle and gently mist the seeds.
When I grew mine in mason jars, I put about 1 - 2 T. of seeds into the bottom of the jar and covered them with water, allowing them to soak for a few hours. I put a square light mesh fabric and screwed the lid over the top to allow airflow, then drained the excess water off by pouring it out.
Cover and let them chill in the dark
This part felt weird the first time. You cover the tray with something (I used another tray) and put it somewhere dark for 2 days or so.
No light, and no peeking.
If using the mason jar method, rotate the jar a couple of times to move the seeds around and put them back in the dark.
This is the “blackout” period, which helps the seeds germinate.
Uncover and give them light
Once you see little shoots germinate, it’s time to give them light. Move the tray to a bright windowsill, but on that first day avoid direct sunlight.
If your kitchen area is too low in light, grab a cheap grow light, many are small, portable, and inexpensive.
With the jar method, do the same as above. The first day you see germination, gently rinse your seeds in the jar and drain the excess.
Watering
Keep the soil gently moist, but not overly soggy. You can do this by either bottom watering (allowing water to draw up through the drainage holes), misting with a water bottle, or a combo of both.
In the jar method, gently add water daily, then pour out the excess.
Overwatering tends to be the biggest problem. Make sure they also have a little natural air flow. The jar method, having the mesh screen on the jar top, provides that.
Harvest your microgreens like a pro (aka with scissors)
7–14 days later, when your greens are 1-3 inches tall, snip them at the base with scissors. Eat them immediately, or store them in a container with a paper towel in the fridge for a couple of hours.
Final takeaways
Just start. On your first batch, sow less seed than you think; it’s shocking how much they grow, and you don’t want to waste them. With such short grow-to-harvest times, you’ll quickly find the amount that’s perfect for your use.
Sow your second batch roughly 5 days later. Again, this will be a trial-and-error process, but by doing this, you will ensure that you always have a ready-to-harvest batch at any point in time.
So, for those who have grown microgreens, what was your favorite plant to use?
By Val Garner
Weird Plants Gardening Space is a reader-supported newsletter. Subscribe now at either the free or upgraded level (for premium content) to get more content about plants and gardening.
This article contains affiliate links and I may receive a small commission after you click one of the links, at no extra charge to you.
Thoroughly inspiring--you make it sound so easy! I've mentally selected an old plant stand by a window for spring planting of the recommended seed mix. Thanks so much!
I would have to get the seeds.